

In 2014 I started making our soap. It seemed like a fascinating process & I love the idea of being able to craft a bar that has exactly what we want & the exact qualities of a soap that we love.
I don’t think I’ve stumbled across ‘the’ recipe yet, but here is the latest batch I have tried. I will report back in a couple of months as to whether this bar is a winner.
Ingredients
- 300g coconut oil (may need to warm it up a bit to get it into liquid form)
- 500g olive oil
- 75g shea butter (I use unrefined – you will probably need to warm this in a small saucepan on the stove to get to liquid form)
- 126g lye (caustic soda)
- 289g distilled/filtered water
- 35g pink grapefruit fragrance oil
- Total batch of soap will weight approximately 1.3kg

You will also need
(here is a great article on all you will need)
- Scales – Electronic that measure in single grams
- Good rubber gloves
- Safety glasses
- Large glass bowl to mix oils & lye together
- Soap mold that will be able to hold the batch amount you are making above
- Glass jug (or any heatproof jug) for lye water
- Stick blender
- Orange & Pink liquid brites colour for CP soap-making
- Chopstick for swirling
- Plastic measuring jugs (if you are wanting to pour out your soap mix to make different colours
- Spatula (for getting every last bit of the soap mix into the mold)
- Stainless-steel spoon
I like to do everything methodically when it comes to soap-making. I find it relaxing to do it this way & to be honest, it’s safer as you’re more likely to cover all bases.
Step 1: Use your scales to measure your lye (caustic soda) into small bowl (I have a few small glass bowls I use for this & to hold the fragrance oil when measured out).
Step 2: Use your scales to measure your water into your glass jug.
Step 3: Slowly add your lye to your water – Do this in a well-ventilated room & stir slowly with your stainless steel spoon until the caustic soda is dissolved. The water will heat up to an incredibly hot temperature (if you don’t believe me, touch the lower outer side of the glass jug…HOT).
Set this aside & let it start coming down toward room temperature. Now you can get on with getting out & organizing all the other bits & bobs.
Step 4: In a glass bowl, use your scales to measure your fragrance. Set aside.
Step 5: Use your scales to measure your olive oil, melted coconut oil & melted shea butter into your large glass bowl & mix together.
Step 6: Grab a plastic jug for each of your colours, for me that’s 2. Pour a small amount of pink & orange into each. Set these aside as we will pour soap mix into each of these after.
Step 7: Put on your safety glasses & rubber gloves. Gently add the room temp lye water to your bowl of room temp oils & gently mix together with your spatula. Put your stick blender into the bowl, tap it on the bottom of the bowl a couple of times to get any air bubbles out from under the blender head.
Step 8: Start with some quick bursts of the blender to emulsify the oil & lye water together. You are looking for ‘thin’ trace which is like a runny pancake batter. This took me about 30 seconds of quick blasts with the blender & then stirring to see how it is coming together in the bowl.
Step 9: This is when I add my fragrance and gently stir through with my spatula, then I give it a quick blitz with my stick blender.
Step 10: Once you are happy with the mix, pour about 1 cup into your jug with the pink colour & the same into the jug with the orange colour. Give these a good mix with your spatula, but you may also need to put your stick blender in them & give them a quick blitz to mix the colour through completely.
Step 11: Pour the remaining soap mix (uncoloured) into your soap mold. Take your pink and pour it into your soap mould in a big ‘s’ shape, using most of the mix in the jug. Follow with the orange & again pour it in a ‘s’ shape, right along side the pink ‘s’ shape, but not right on top of it. I end up doing two passes in a ‘s’ shape with each colour & then if there is any remaining colour I just use my spatula to scrape all of it out & onto the top of the soap.
Step 12: Take your chopstick & swirl diagonally from one corner of the mold to the other side so you are running your chopstick through the ‘s’ shape you made when pouring. Make sure your chopstick is going all the way to the bottom. I just do this once, but some people do it multiple times. I also run the chopstick around all 4 edges of the mold to see if I can pull some colour to the sides.

Step 13: Cover the top of the mold with some strong cardboard or ply lay a towel over the top of that to ensure it is insulated (you don’t want soap to cool too quick as it will discolour). Put it out of the way.
Now you need to wait up to a week. To be honest, you are able to wait less, but I’m in no rush, so I wait at least 24 hours and then check. This time I checked after a 36 hour cure & the sides of the mold came away super easy so I un-molded.
Once I have un-molded, I cut my soap up into the bar size I want. For this batch I got 12 large bars.
I will now set these out on racks to ‘cure’ for another 4-6 weeks.
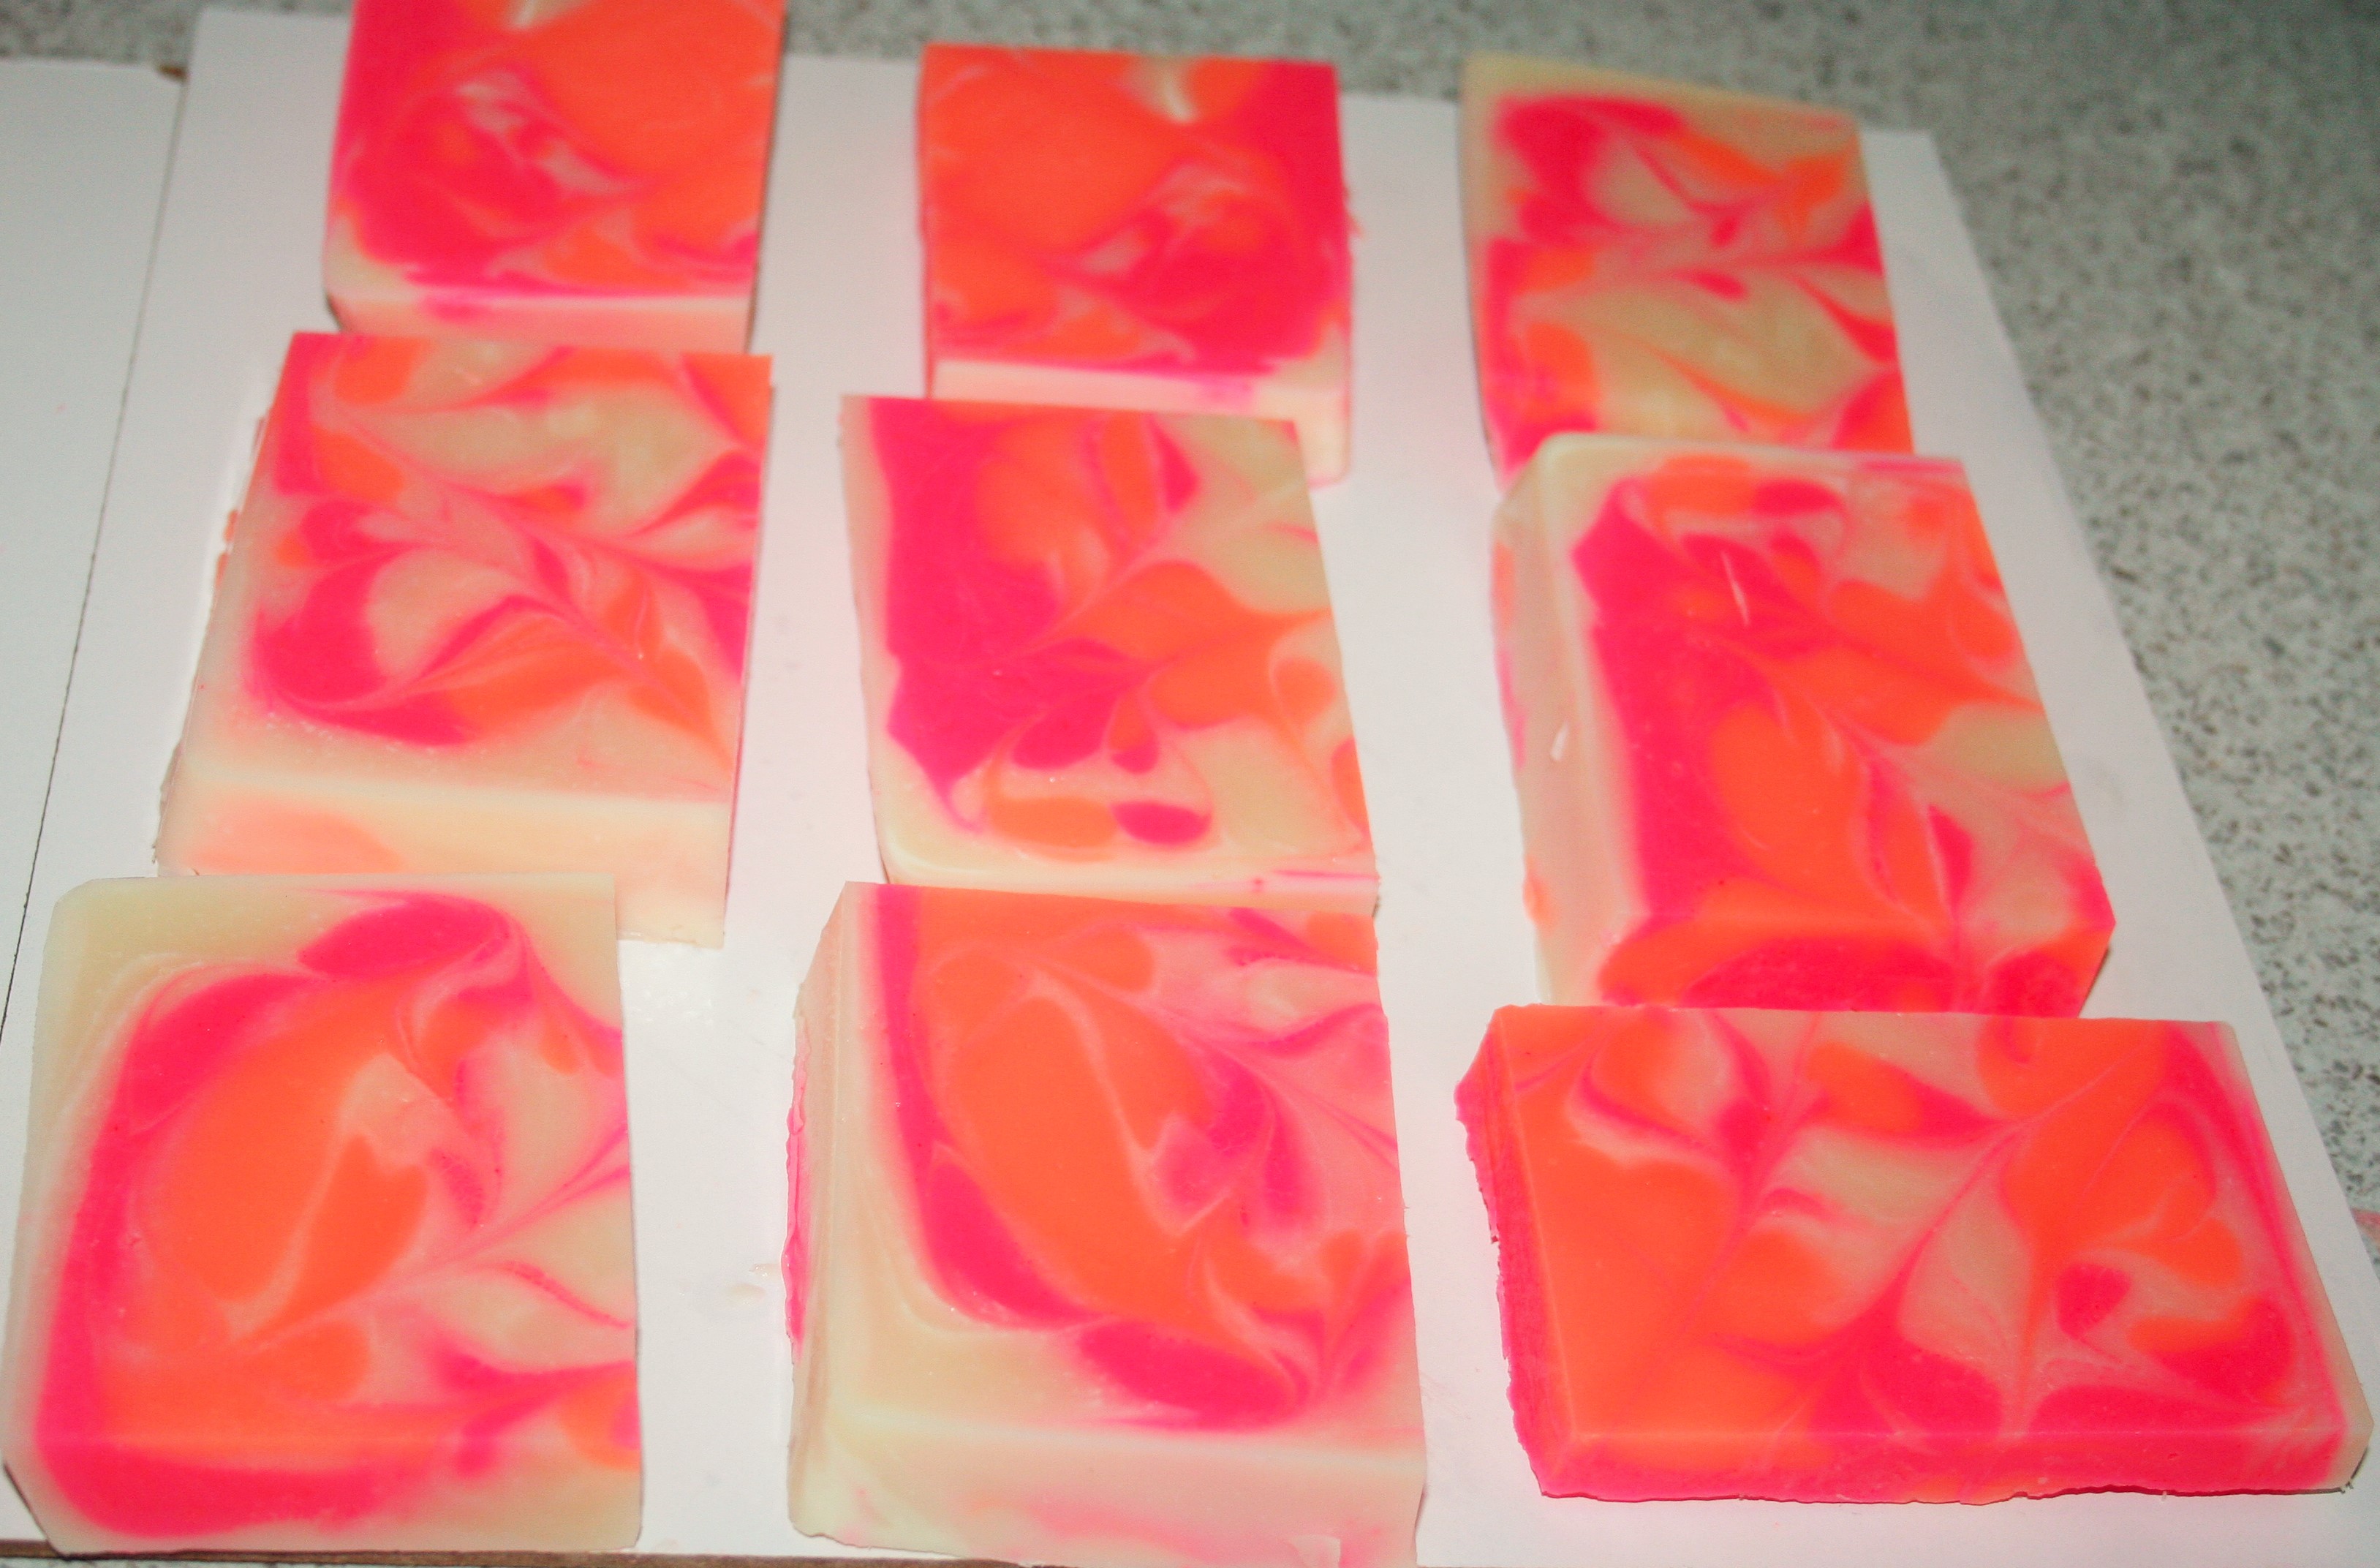
I’m really happy with the swirls & patterns in this batch, definitely not perfect, but the orange thickened up quite quickly so I’m pleased with the swirls that I did manage to get.
I just love using home made soap. I will be bundling up 3 or 4 bars for my uncle to take home with him & I will pass another 3-4 bars on to my parents who I know will appreciate the thought.
Next batch will be with green swirls & will be an Anjou pear fragrance I believe. I may blog about that also.
Useful links:
- Soap Queen TV tutorials
- Brambleberry soap/lye calculator
- Brambleberry fragrance calculator
- Aussie Soap Supplies


beautiful bars! May I ask if you line your mold first?
LikeLike
I don’t, because I’m using a silicone mold that has a super shiny non-stick inside, however I would definitely line anything else that didn’t have that non-stick inside. Thanks for stopping by!
LikeLike
So pretty! I would love to make my own soap, but I find the idea a little intimidating. I just love the colours of these ones so much!
LikeLike
It can definitely be intimidating, however once I mixed the water & caustic soda together once, the fear just goes away. This is my favourite colour combination so far!
LikeLike